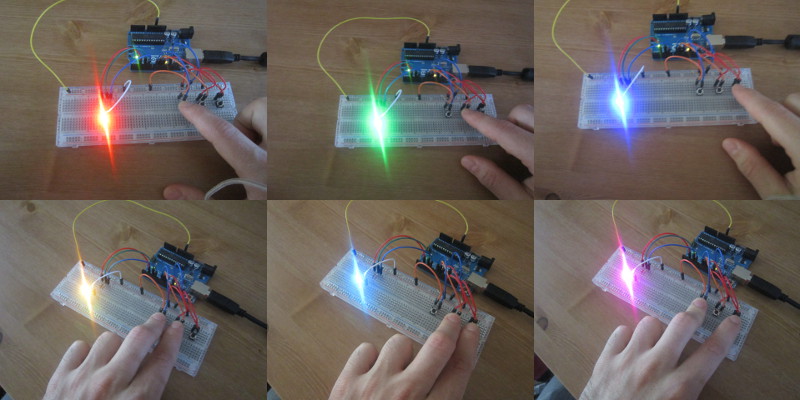
In this simple project I’m going to show you how to control an RGB LED (common anode) using an Arduino Uno and few push-buttons.
Description
In this project I’m going to control an 5mm RGB LED using three pushbuttons and an Arduino Uno.
Every pushbutton is controlling a colour channel of the LED, i.e: the first button is controlling the Red channel, the second button is controlling the Green channel and the third button is controlling the Blue channel.
Pushing a single button will increase gradually the brightness of the corresponding colour channel until it will reach its maximum brightness, which basically means you get a Red, a Green or a Blue light. Pushing more buttons at the same time allows you to get even more colours. For example pushing the first and the second buttons makes yellow, pushing the first and the third buttons makes fuchsia, etc..

Obviously this is just a simple project aimed to show you how to control an RGB LED, but it should be quite easy to extend it and to use it as a starting point for more interesting experiments with RGB LEDs. For example a simple and quick modification could be using 6 pushbuttons to have full control on the brightness value of each colour component (3 pushbuttons to increase the brightness of the 3 colours and 3 pushbuttons to decrease it).
Components
This is what I used for this project:
- 1x
1 Comment
Leave a Comment
It says that COL_VAR was not declared in the scope.